A mysterious title for a not so mysterious activity…about a month ago, I took part in an Herbarium Workshop organised by the South London Botanical Institute (SLBI). While I had realised an herbarium before (including one for my BSc with 100 plants, all painfully sewed to thick paper sheets), I had never had the chance to see how “pros” do it. This was an unique opportunity to discover the tricks of the trade, as the workshop was given by two herbarium experts from Kew Gardens:
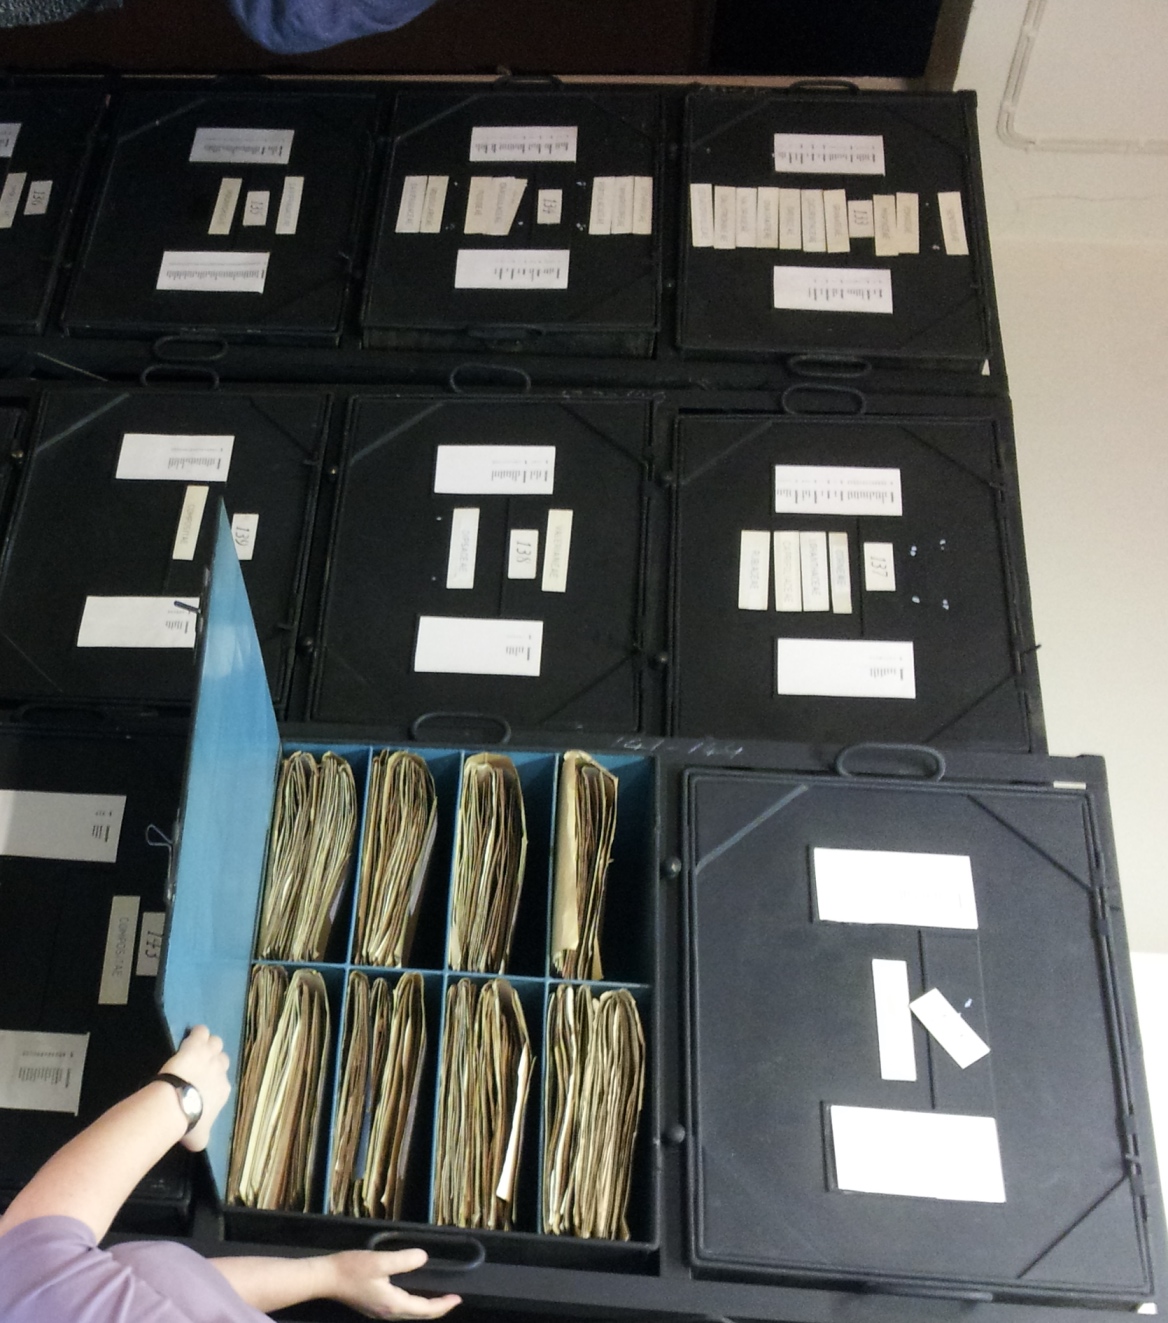
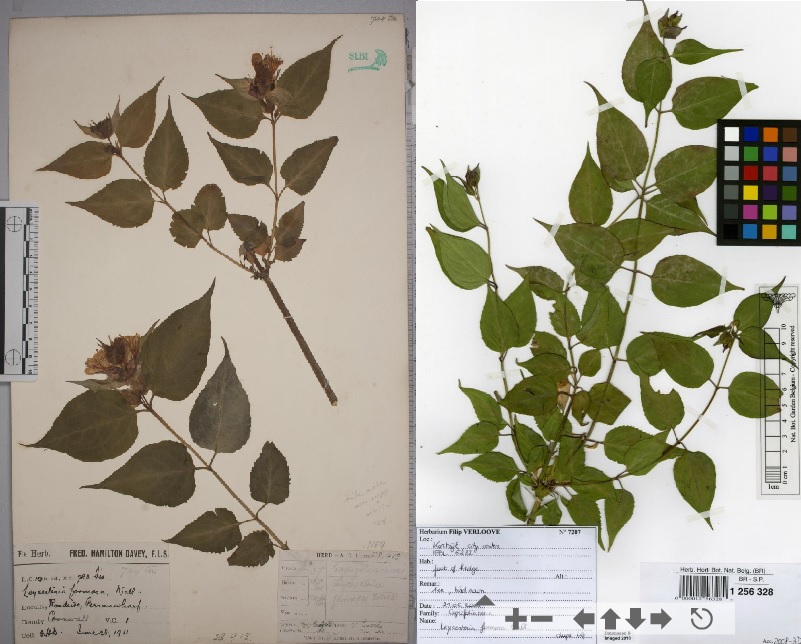
Hosted in a typical Victorian town house in South East London, the SLBI was founded in 1910 by keen botanist Allan Octavian Hume after years of serving in India, and has since been a place for botanists of all ages and interests to share their knowledge. The herbarium is home to over 100000 specimens of flowering plants, mosses or liverworts, mostly collected in the 1800s (though new ones are still added) and is stored in strange bespoke-made black iron boxes.
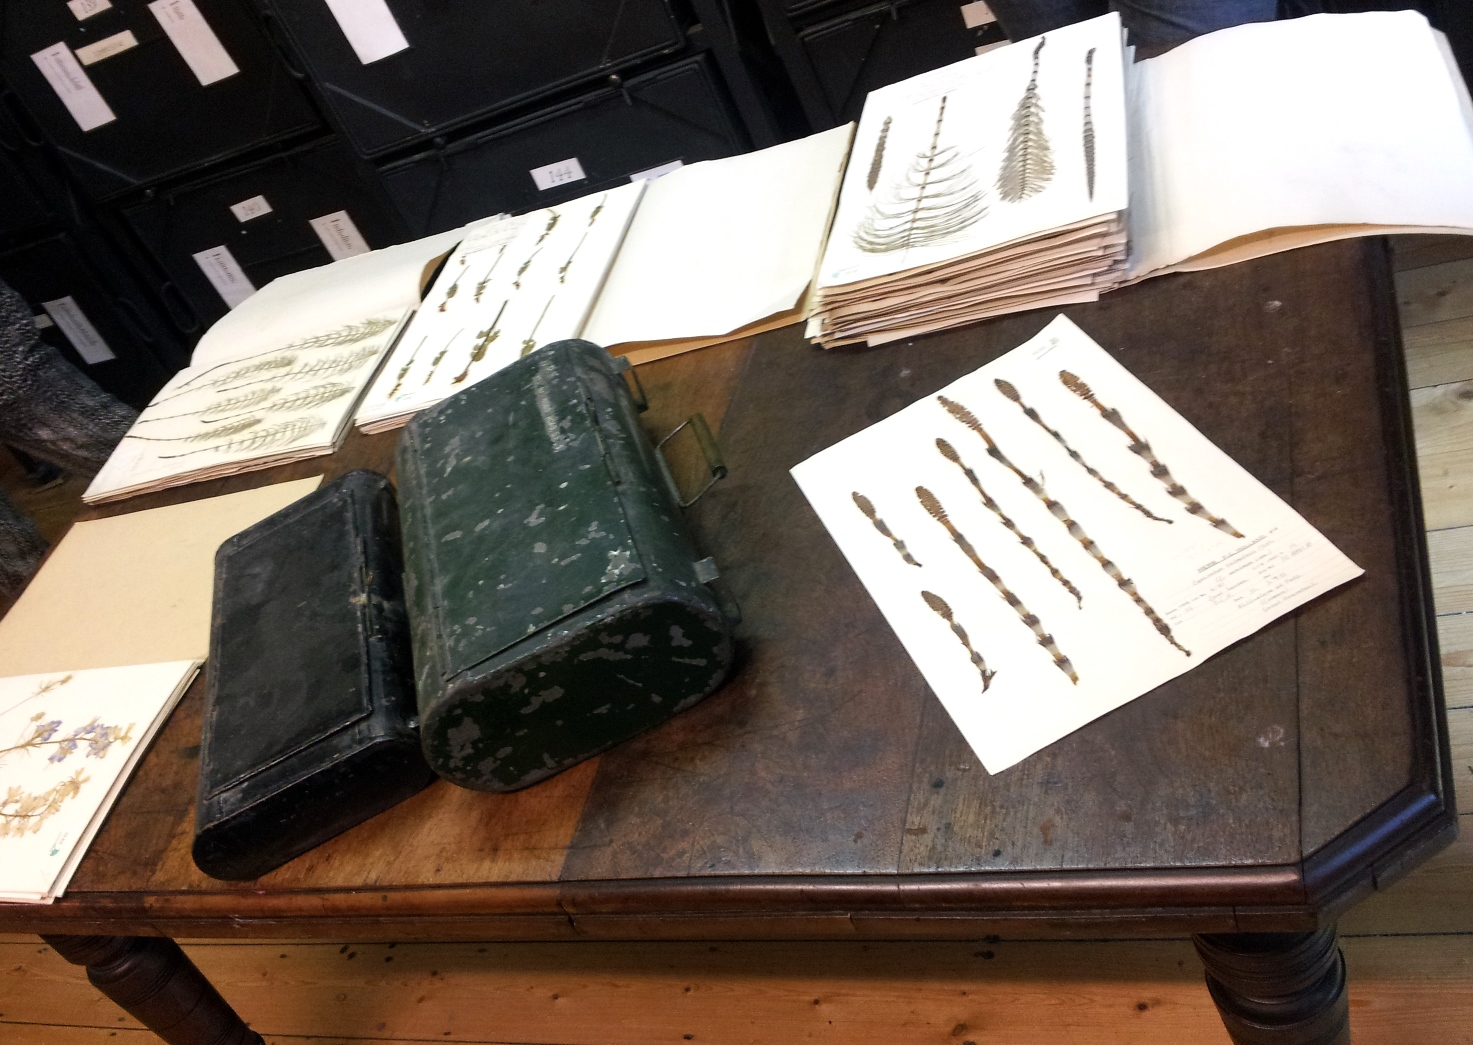
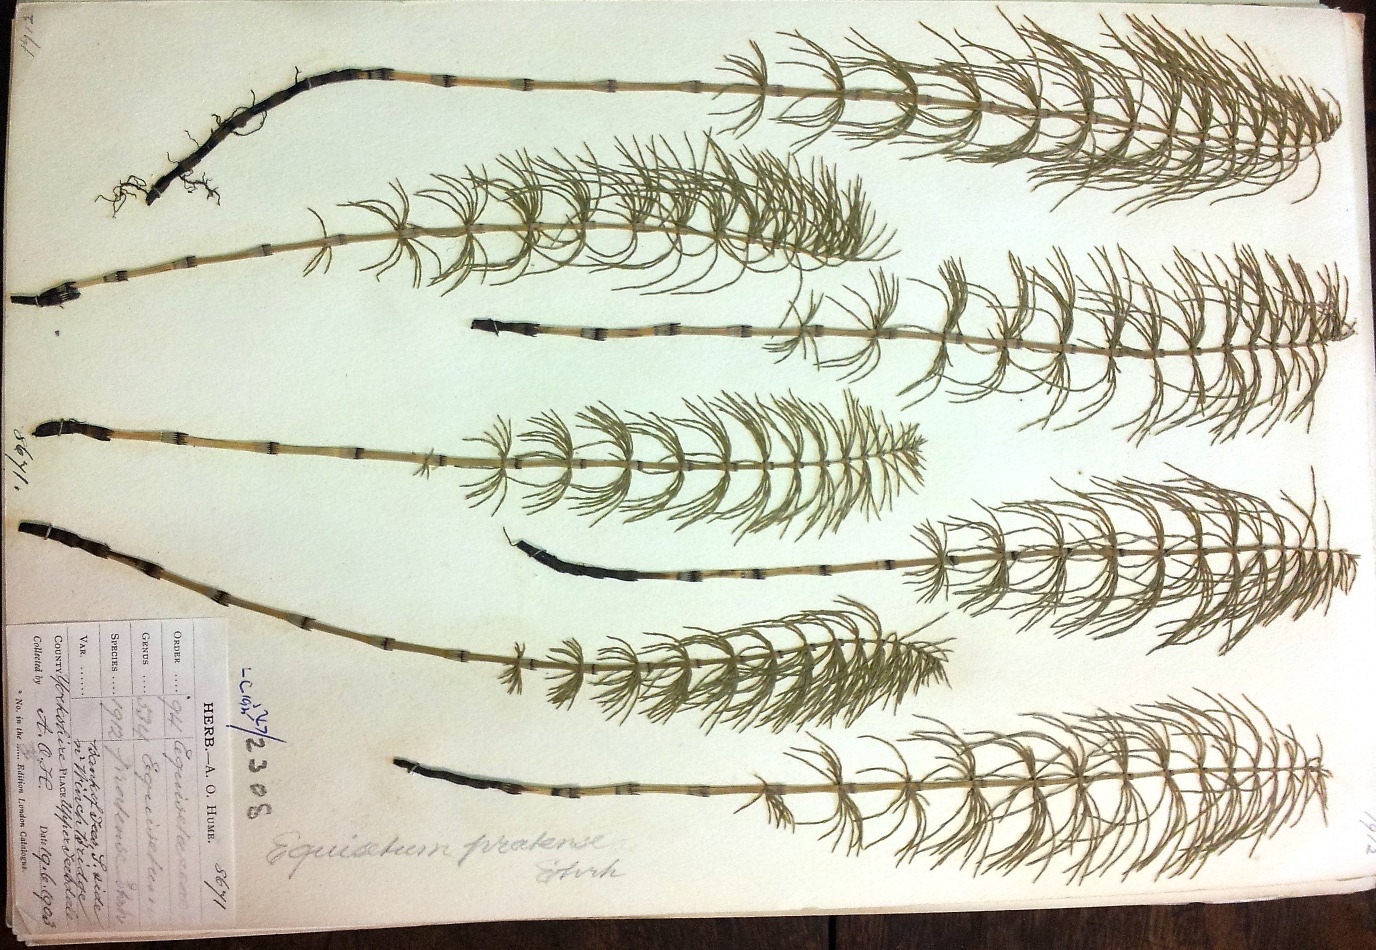
Some interesting horsetail specimens (right pic is a specimen of Equisetum arvense, the Field Horsetail, collected in 1903 in Yorkshire), and old metal boxes used to safely collect plants in the field:
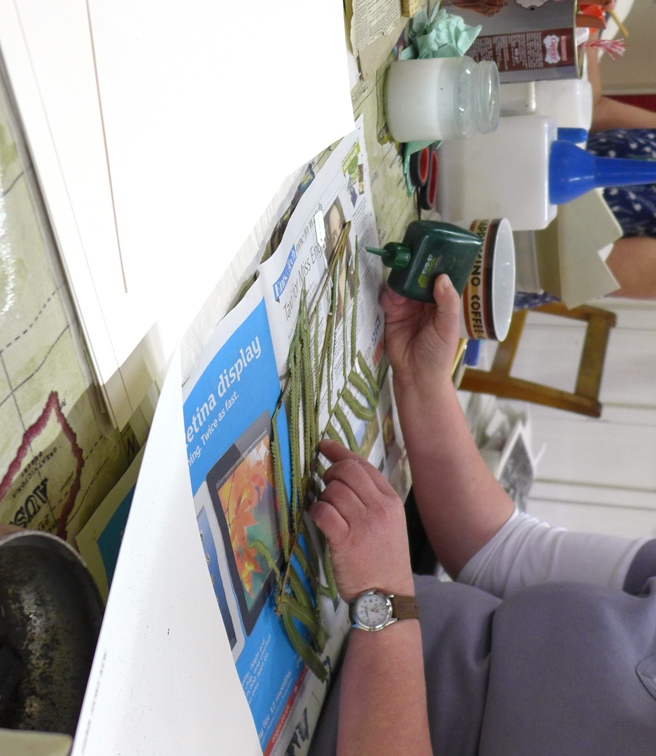
But off with the visit, it was time to get to work! The protocol used for mounting was designed by W. H. Griffin, botanical assistant to Hume, and is similar to the one used at Kew. It is very much a question of personal/regional/historical preferences: all the specimens I worked on at the National Botanical Garden of Belgium were affixed to the sheets with gummed strips, but some institutions prefers to glue specimens as it prevents degradation if the sheets are frequently handled. The glue is water-soluble, so it can easily be removed:
The protocol in itself is long (e-mail me if you want more detail, or try to attend another SLBI workshop 🙂 ) but here are the basic steps:
1) Place label(s) on the sheet and carefully position your specimen so that it looks nice and that useful identifying features (for example leaf underside) can easily be seen.
2) Make small pencil marks to remember the position and remove everything from the sheet.
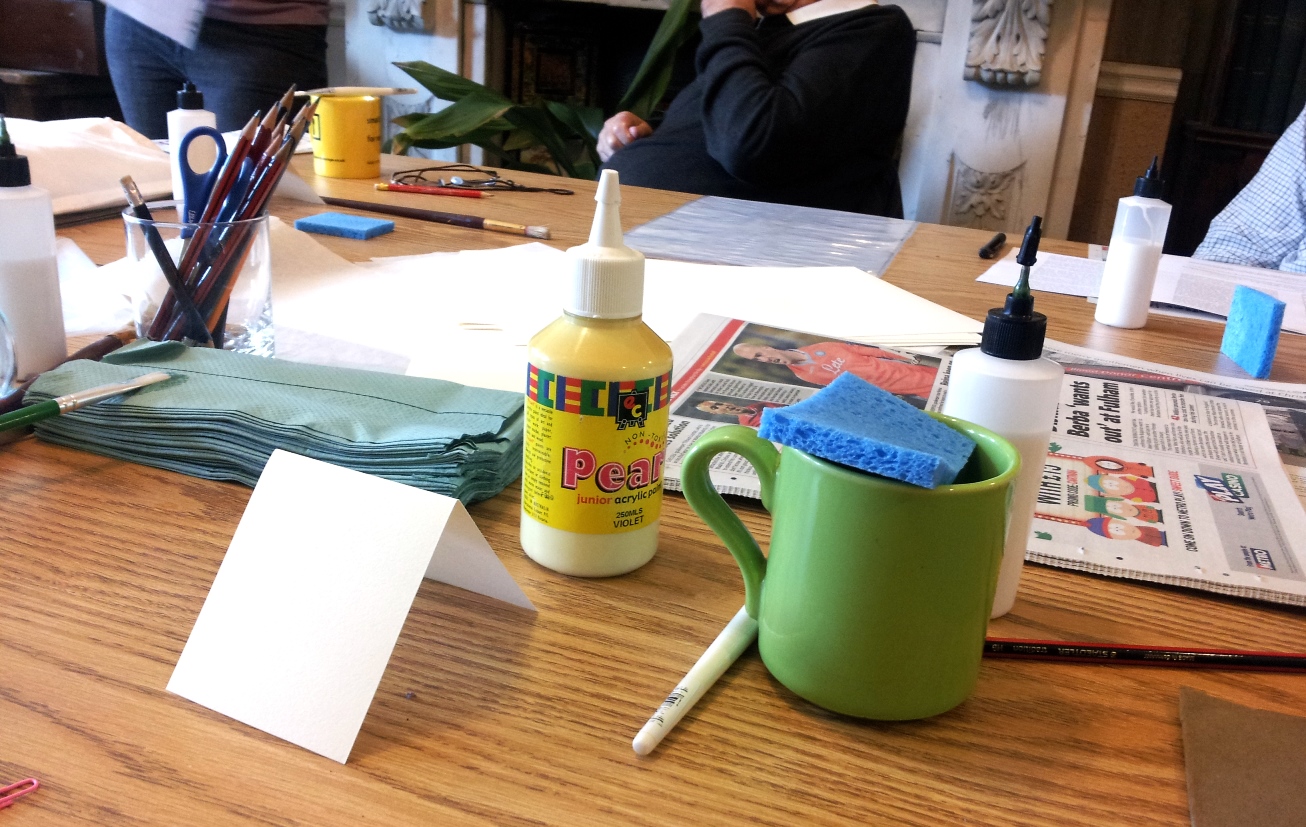
3) Put your specimen back on newspaper (preferably choose a page of no interest to you, so you won’t be distracted!), side-to-be-glued up, and start applying glue, with bottle, pencil or brushes.
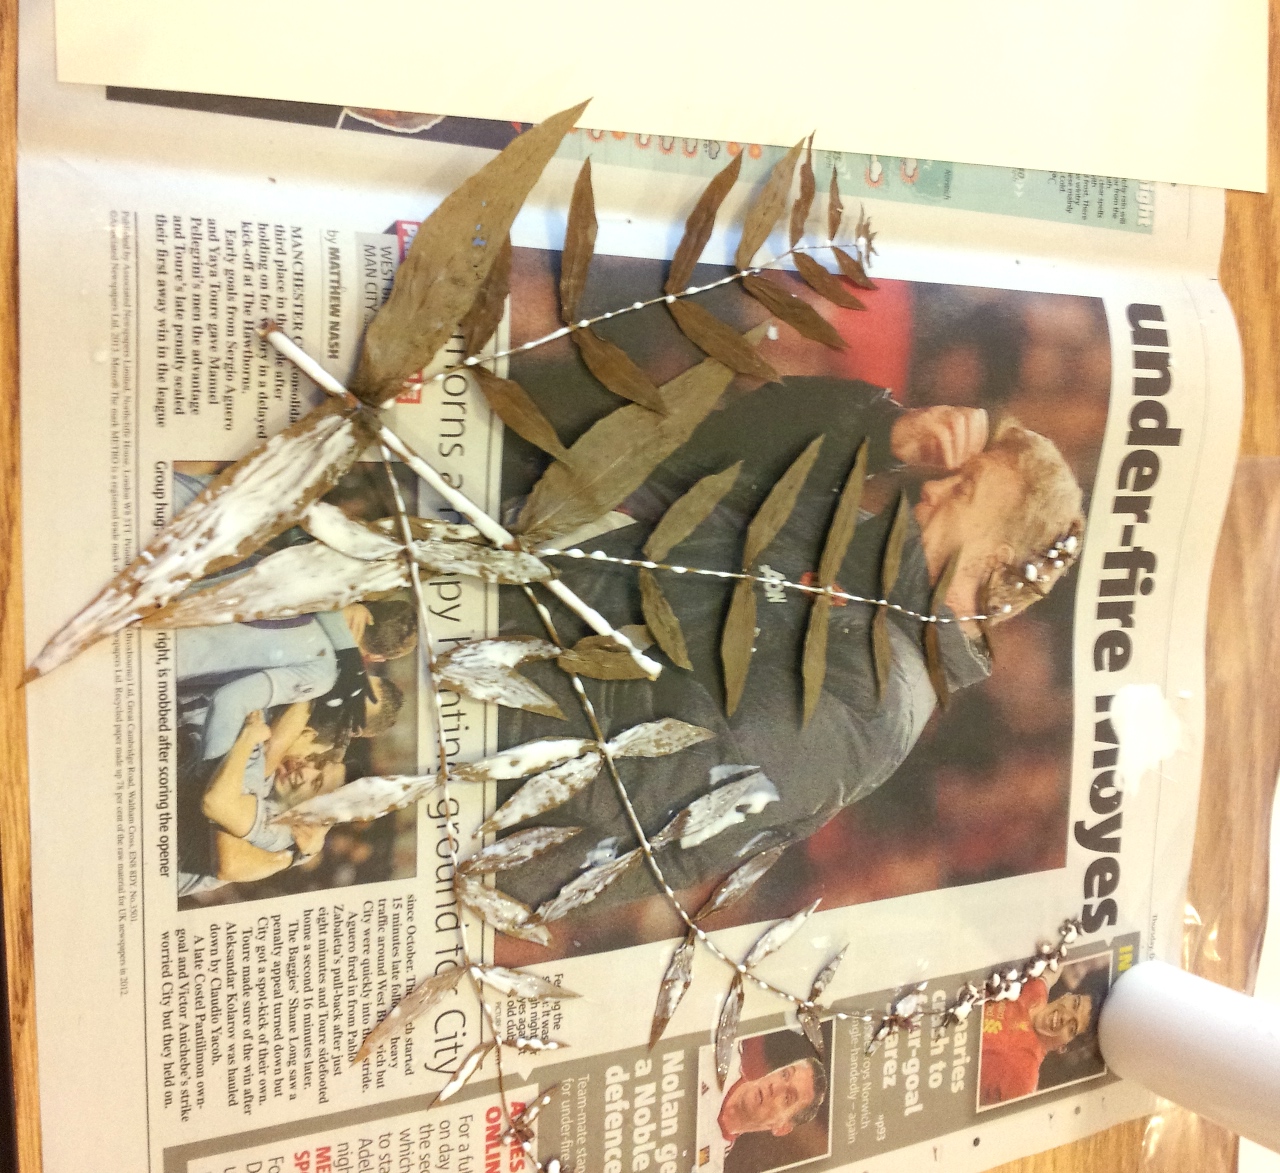
4) Once everything is glued, turn the specimen on the newspaper, and press – this will remove the excess of glue and spread it out.
5) Lift the plant and place it on the sheet (remember those pencil marks you did earlier!), use little weights to hold it in place.
6) Using a wet sponge, dab the whole plant (particularly sides of the leaves and of the stem) to remove any excess glue.
7) Glue the labels, place wax paper and put specimens under sand bag for drying…

Et voilà…My specimen of Lythrum salicaria (Purple loosestrife) doesn’t look too bad, does it?

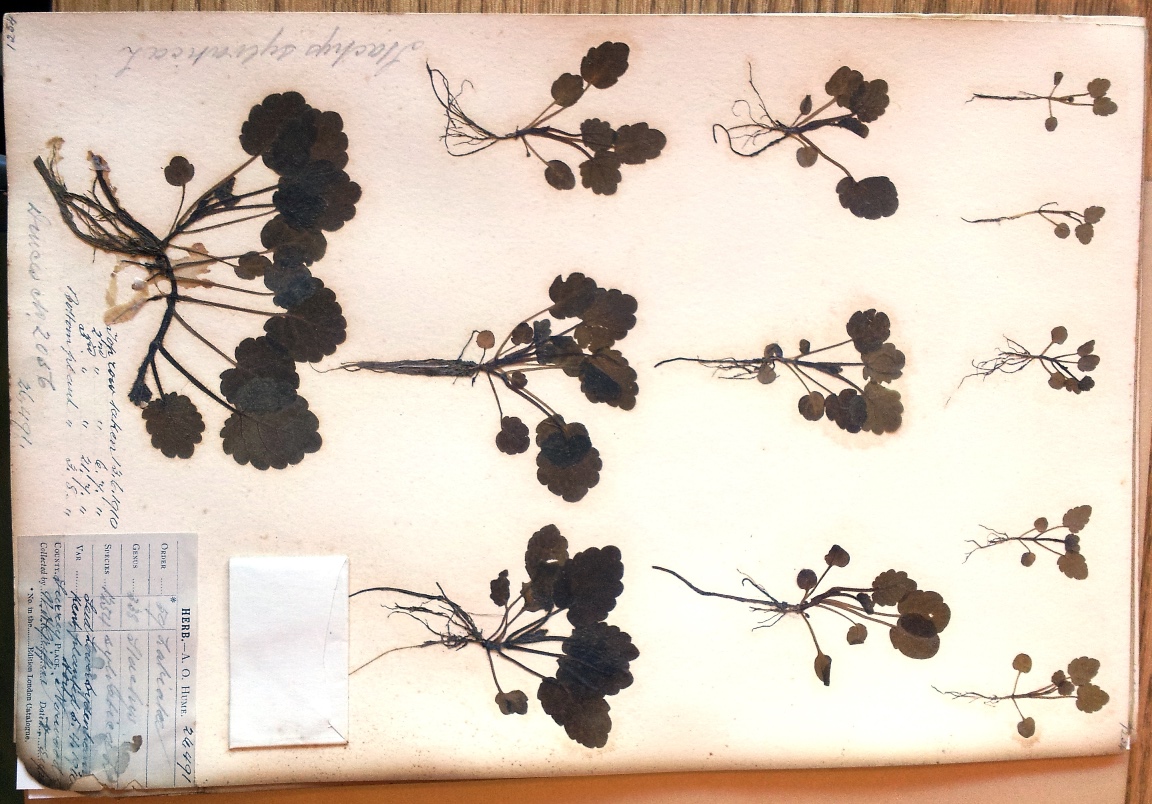
If you think this was complicated, well, have a look at this stunning specimen of Stachys sylvatica made by Griffin, where you can see all the stages of development. Specimen or work of art, one can wonder!
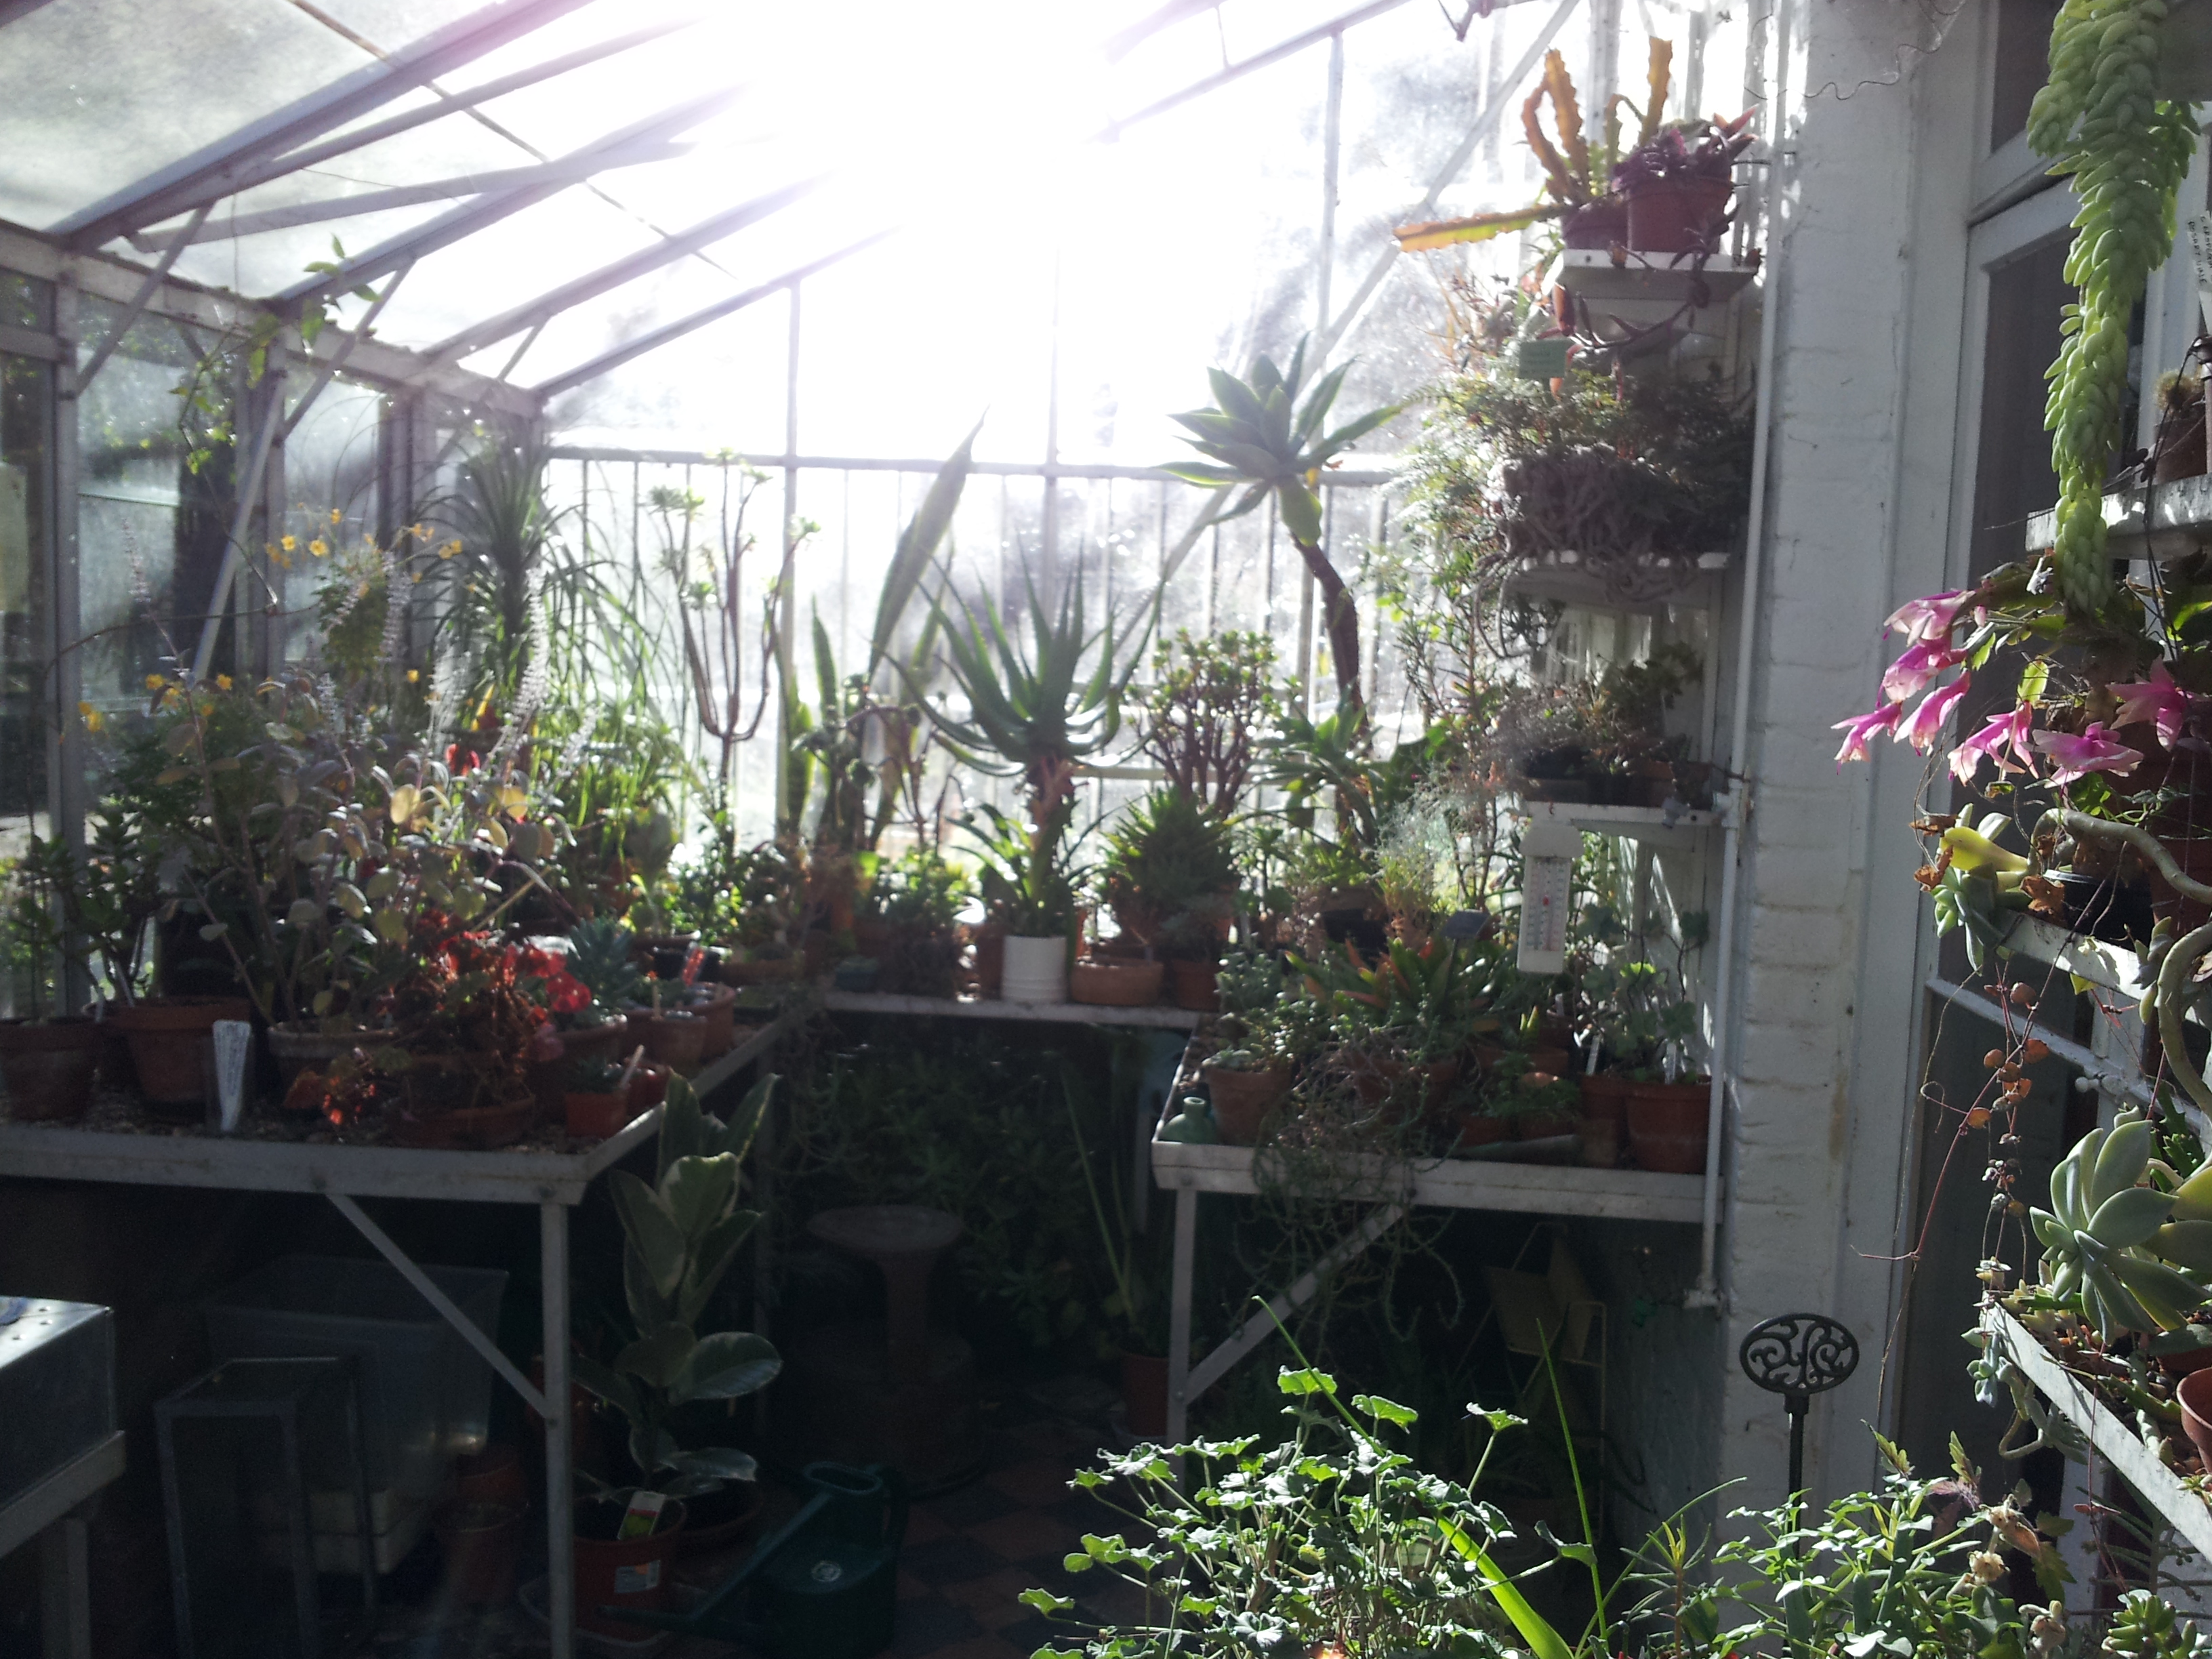
The SLBI organises workshops, lectures, surveys and plant fairs all year long, and I’m really looking forward to attending more fun events there. Just in case you get bored with the herbarium, there’s also a library full of interesting books, a nice glasshouse and a garden with medicinal and Australasian borders…

I had to create some specimens for a plant course last year, and it was quite fun! My samples were broad-leaved willowherb and herb robert. Our kitchen is quite small though, so I had heaps of newspaper and plants sprawled around for a few weeks!
Oh, I know exactly what you mean 😉
Can you divulge exactly which glue you and the SLBI use and whether dilution is required?
Hi Dimitri, I use (as most herbaria) so-called “archival glue” which is polyvinyl acetate (PVA). You can find ready-to-use dispenser bottles and refills. It can be diluted up to 5 times, eg to glue delicate plant parts.